How to Use Photoshop Actions
- By Jess Brown | May 12, 2017
Photoshop Actions can make your workflow really effective when you repeat the same tasks over and over again. It's a way of letting the computer take on the work that is both repeatable and generally applicable. For example, exporting a folder full of photos in .jpg format into another folder and formatted in .png. This may not take too long if you have three photos you need to change and export into a new folder, but what if you have 50 or 500 photos? Photoshop can take that job and do it fast and without much effort on your part.
Let's see how this would work:
- Open a photo that you want to export to a PNG
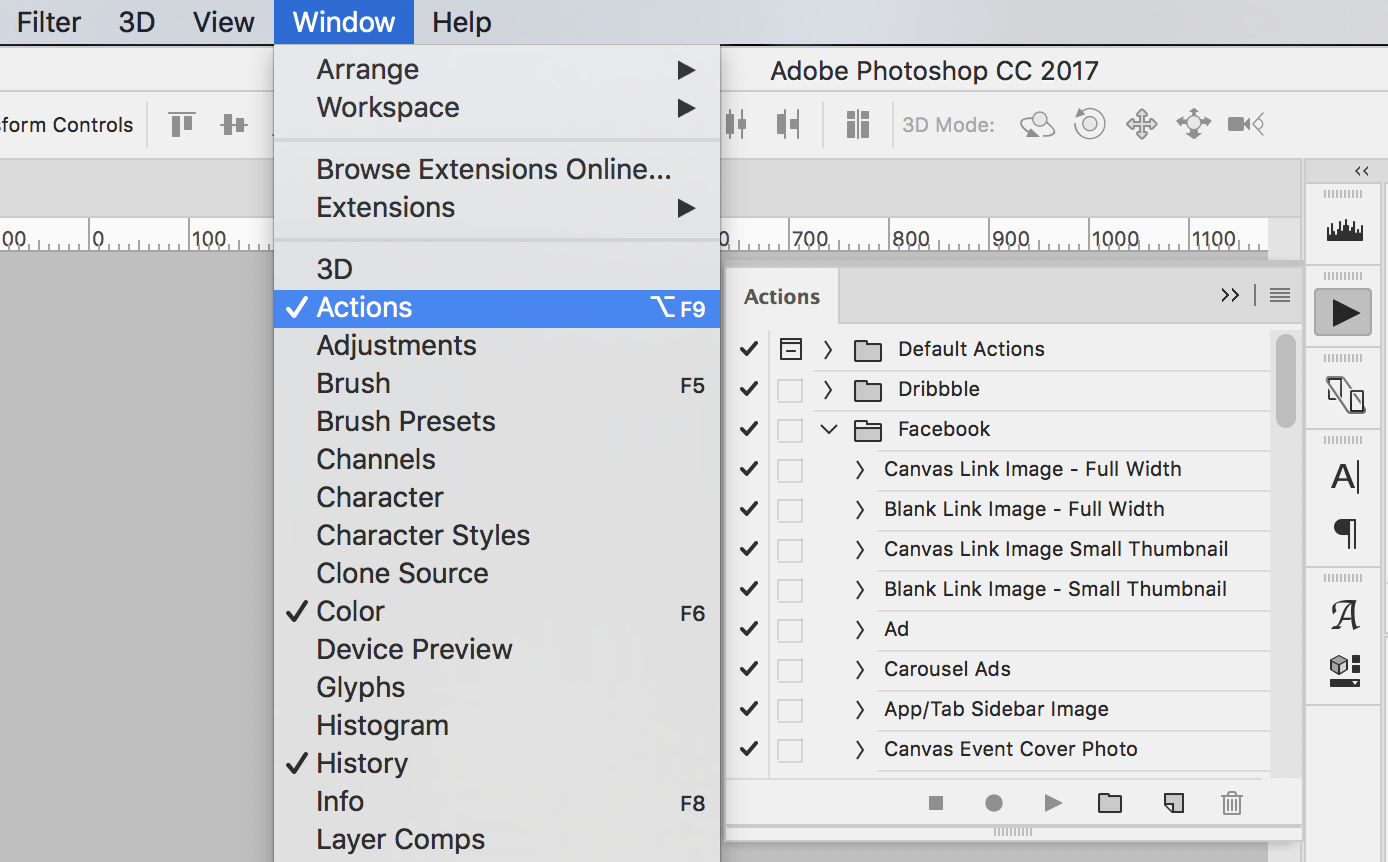
- Open up the Actions panel (Window > Actions)
- Create a new set of actions and name it (click the folder icon in Actions panel)
- With that set highlighted, create a new action and name it (click the dog-eared square icon)
- Click "Record"
- Time to export. Go to File > Save As... then choose your location and make sure the format is set to PNG
- Look at the Actions panel—it now has "Save" under the action. Stop recording (click black square icon
Now you have recorded the action of saving a copy of your current file as a PNG. To use the action:
- Open a photo that you want to export to a PNG
- Select the Action you just recorded ("Export to PNG")
- Click "Play" to run the action (icon with the black triangle)
- Go to the folder you selected earlier as the destination for your new PNG—you should now see that photo there
Done. You've recorded and used your first Photoshop action. That's great start to speeding up your repetitive tasks. This allows you to quickly save your photos as PNGs to that specific folder without having to choose the same settings everytime.
There is still a lot more you can do to speed things up even more, by using Photoshop actions with batches, so you don't have to run the action on each individual photo. We'll cover that in another post.